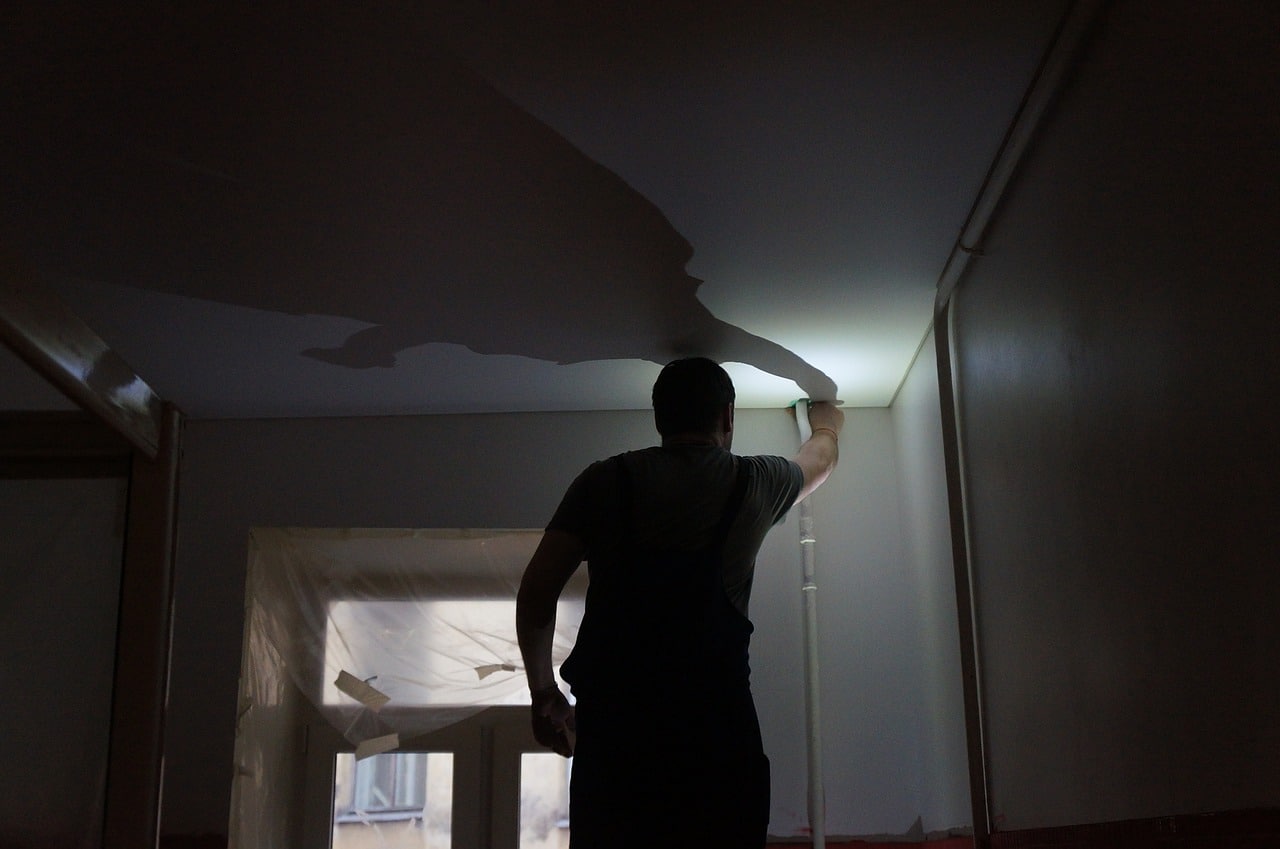
You have probably watched an episode of a renovation show where they removed drywall. Drywall is a common feature in every building, and it is highly durable, functional, and super-easy to install and remove. And because of how common it is, there might be a need for you to remove one yourself.
Do not be fooled by how easy it looks on television. Removing drywall can be very complicated and messy, so most people leave it to the professionals to handle. But knowing how to remove drywall is a skill worth having. As difficult as it seems, removing drywall is as easy as it looks on TV once you get the hang of the process.
Agape Home Service, a local home improvement company in Dallas, TX, has offered us tips on the easiest way on drywall removal, and we are going to share them with you.
- The First Step: Prepare Your Tools
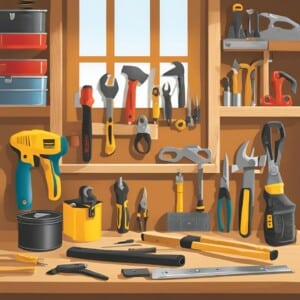
A worker is only as good as the tools they use, so before you start ripping through your drywall, make sure you have the necessary tools. These tools are very common, and anyone you don’t have can be gotten from your neighbor or friend. They include:
- Hammer
- Handsaw
- Utility knife
- Reciprocating saw
- Power drill
- Flat bar
- End nips
Apart from these tools, you might need a dust mask to ensure you don’t get dust from the drywall into your lungs. You might also need protective tools like gloves and safety glasses.
- The Second Step: Prep The Room and The Wall
When you have readied your tools, the next step is to prep the room. Start by turning off utilities such as your HVAC Units and electrical outlets. Using a stud finder, locate and mark areas that have things lying under them, so you know where not to cut.
Remove the trim from electrical outlets and all other electrical coverings. Close off any vents in the room so that dust from the drywall does not travel into other rooms in the house. Seal your doors and windows with plastic sheeting, so dust does not end up all over your home. Cleaning this up can become a hassle.
- The Third Step: Remove the Plaster
This is an essential step in the drywall removal process. According to Agape Home Service, a local home improvement company in Dallas, TX, you can’t get to all the drywall if you do not remove the plaster. Uneven plaster removal could pose a problem for you, especially when you want to install new drywall.
How To Remove Plaster From Drywall.
The first thing you need is a utility knife. Using this, cut the part of the plaster that meets with the drywall. Once you are done with this, get a pry bar and pull the plaster up. Although this sounds easy, it is essential that you carefully remove all plaster, or installing new drywall might prove difficult.
- The Fourth Step: Cut Open an Area and Make Handholds
Make hammer holes along one edge of the area you want to remove drywall from. Or better still, use a reciprocating saw and utility knives. Avoid the structures underneath the drywall as you make your handholds.
Do not rush this process, or you will ruin the whole process before you have even started.
- The Fifth Step: Find and Remove Framing Nails
The next step is to find and remove nails that hold the drywall to the underlying framing. The best way to do this is with a strong magnet. Using these magnets, locate and mark off where these framing nails are.
Then pick up your hammer and pry bar and start getting the nails off. If you, however, notice that the drywall was screwed to the framing, then your screwdriver would be a better tool to use. This is the step where accidents tend to happen during drywall removal so ensure that you are careful.
- The Sixth Step: Remove The Drywall
If you have removed the nails and screws properly, your drywall should come off quickly. However, depending on how long the drywall has been up, getting it off might still prove difficult even without all the nails. In this situation, your pry bar is the best tool to use.
If this isn’t the case, all you have to do is grip the handholds you made earlier and start ripping away. Drop each large chunk in a disposal container to quickly dispose of it later on.
You might also notice some breakage, so make sure you inspect the edges and remove any drywall left using your pry bar or utility knife. Ensure that you do not leave any drywall so it doesn’t pose a problem for you in the future.
- The Seventh Step: Clean Up.
As we mentioned already, removing drywall is a messy business. Dispose of the chunks of drywall and vacuum the room thoroughly. Drywall can be dangerous for the respiratory system, so make sure you don’t leave any behind. If you prepped the room the way we told you to, you have nothing to worry about.
Remove the nails and screws, too, as we do not want a trip to the emergency room. Ensure you follow community guidelines for the disposal of the removed drywall.