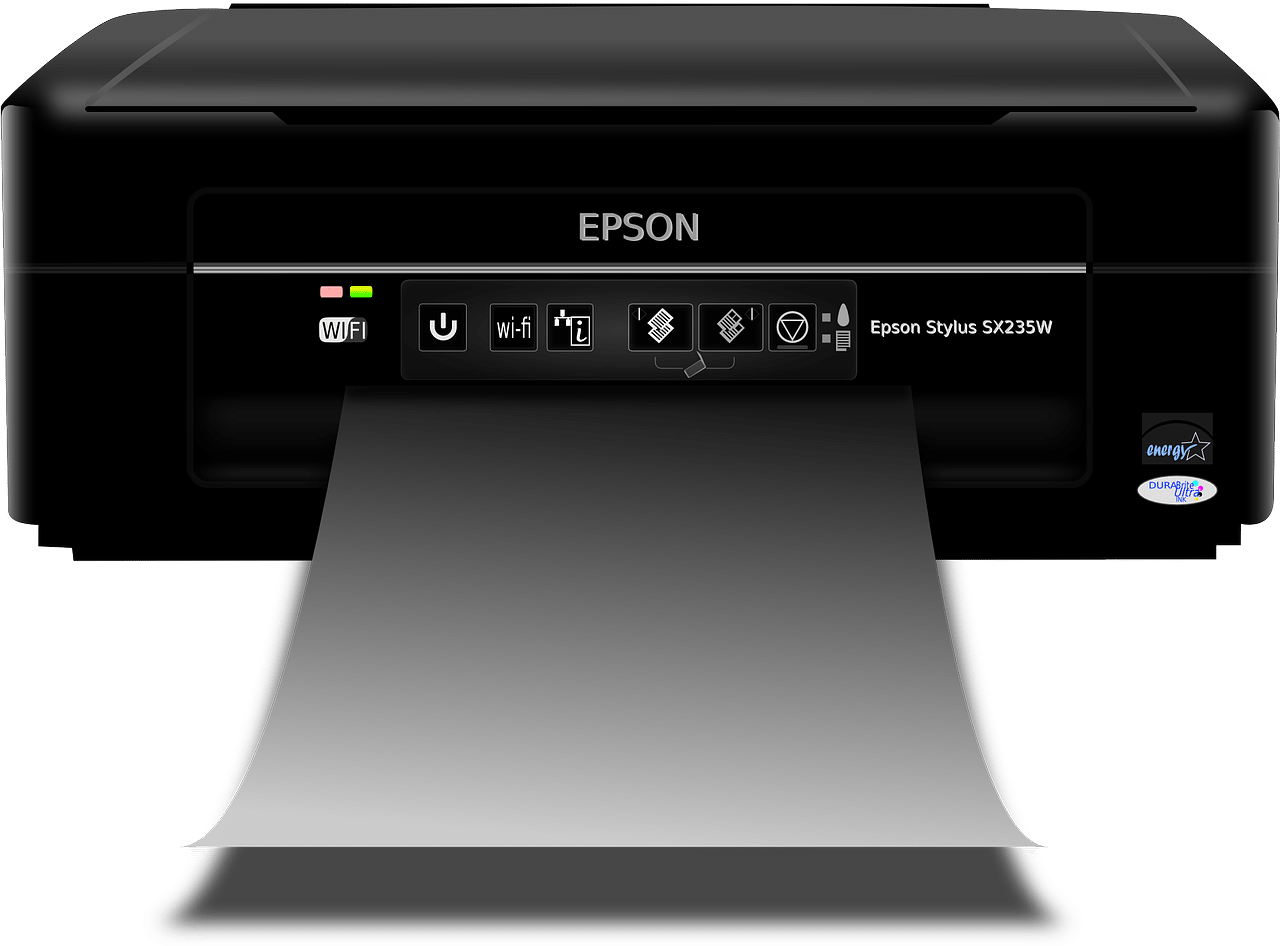
Epson Printers are well known for their reliability and robustness. New Epson printers are simple to configure and use. You can set the Epson printer to Wi-Fi and then use the printer reliably. But few Epson users face the setup error while configuring the device to Wi-Fi. You should check the errors and then configure them correctly.
Steps to Reset your Epson Printer
When the device is not connecting to Wi-Fi, check the settings. The user will get an error when he has configured the printer wrongly. You should go to the device and reset it to the factory default.
- Reset printer using the control panel
- Go to the printer and tap on Control Panel
- Select the navigation button and hit on Setup
- Choose Restore Default Settings option
- Tap the OK button
- Now choose Restore Network Setting
- Select the OK button and the machine will restart with factory default settings.
- Reset printer with Reset button
Some of the Epson printers have a reset button. Check the printer’s rear side for the reset button. Use a pin and press the button for about 4-5 seconds. User will get a warning page, now release the button and you will get a new printout default address details. After resetting the password, go to the printer and reconfigure it to the network.
Reconfiguring Epson Printer to Wi-Fi
After you reset Epson, you reconfigure the printer again with the network. When you have WPS then connect the printer directly.
- Check Epson printer and press the Wi-Fi button
- The lamp should start blinking
- Go to Wi-Fi and enable WPS
- Check the printer screen
- Select your Wi-Fi name from the list
- Type network’s password
The lamp will become steady and now you can set it with other devices. For confirming the printer connection, take the printout for network configuration to check SSID and printer status.
Connecting the Computer to the Epson Printer on the Network
- Go to PC and connect to the network
- Open the Devices folder
- Select Printers and Scanners
- Choose Add Device
- Users will see the printer’s name
Select Epson printer and tap on Add. Open the document and choose Print. On the print wizard, make required changes and then take the printouts.
Repair the Epson Printer Driver
The printer can show issues due to an Epson communication error. When the printer is not working, inspect its driver. Users can access the printer only when it has the required driver. If you are using a different printer; install its driver. You can’t use the same driver on every printer. When the printer driver is correct but still getting errors then inspect its files. You are getting errors because driver files are corrupted. Inspect those files and then repair them. For repairing automatically, use a driver repair tool or reinstall the setup. Users can uninstall the corrupted Epson driver from the system. Reinstall the correct printer driver and now try to access the printer on the network.
Use the secure network
Your Printing may show errors when you are trying to connect it to an open network. Using the printer on an unsecured network can be dangerous and the printer may show many errors. Go to your printer settings and secure the network with a password. Now retry to connect the Epson printer with the network.
Run the malware scan on PC
When the user can’t find an Epson printer on the network, check the PC for malware. Many of the printer issues appear when the commands are getting interrupted by the printer. Go to your PC and inspect its drives for malware infection. You can search the threats manually and then remove them or use the antivirus. When you run a good antivirus, it removes all the malware from the system. After removing malware, the user can easily take the printouts with his Epson.
Set the Epson Printer Device as Default
Users may get errors while using Epson on the network if you have another printer as default. When you give the print command, the PC can’t find Epson and show issues.
- Open the settings page on the system
- Choose Devices
- On Printers & Scanners, choose to Select a printer option
- Hit on Manage button
- Users will see available printers
- Choose Epson printer and hit on Set as Default
After confirmation, go to the network and try to take your printouts using the Epson printer.